| Mercury References |
Updates
Aug. 16, 2001
Nov. 21, 1999
Oct. 10, 1999
July 5, 1999
Feb. 21, 1999
Feb. 1, 1999
Mission Notes
This section describes major features,
markings or equipment that changed from mission to mission that
would be of interest to modelers. Therefore, any internal equipment
or electronics changes are not noted herein.
| EARLY BEACH ABORTS | Photos |
There were at least three beach abort tests using Langley-built boilerplate capsules. The first two, on 3/11/59 and 4/12/59, used the true boilerplate "C" shape capsule with a Recruit rocket motor and a simple tripod escape tower. I have no photos of this configuration. Roger Moore reports that the two Type C capsules were not painted alike and had different types of towers and colors of Recruit escape motors.
The second test (7/22/59) used a revised "D" capsule shape, more like the final configuration. It was still a simple smooth metallic capsule, but now it had a corrugated recovery section and an escape system motor with a ballasted top built by the Grand Central company for NASA Langley. I have two B and W images of this test. I would guess that the capsule colors are white and bright orange, with small UNITED STATES stenciling in at least one (and likely two) positions. The tower and motor were all black. There was apparently another test on 7/28/59.
Note that some of these early shots used an asymmetric escape tower. This allowed for the tower jettison rocket motor to be installed at an offset angle. These were apparently characteristic of the towers built by Grand Central. At some point (after LJ-1 or LJ-6?) the tower design matured to the design used on manned flights. There were no doubt many detailed variations along the way.
Roger's references:
"Project Mercury: A Chronology,"
pages 23 (first Type C in flight), 44 (date of March 8 for first
Type C shot is not correct; it
was the week of March 8), 45, 53, 68 (photo type D), 69;
"A New Dimension: Wallops Island Flight Test Range: The First
Fifteen
Years," pages 636 (diagram of Types A-D capsules), 647, 649
(photo of first Type C capsule, not "NASA" printed on
side, not
"UNITED STATES"), 650 (photos of second Type C capsule),
651 (photo of Type D capsule); "Full-Scale flight Test of
a Proposed
Abort-Escape System for a Manned Space Capsule from Sea Level"
(NASA TM X-351, about April 12, 1959 shot; contains photos of
capsule); "Full-Scale Flight Test from Sea Level of an Abort-Escape
System for a Project Mercury Capsule" (NASA TM X-422, about
July 22, 1959; contains photos of capsule).
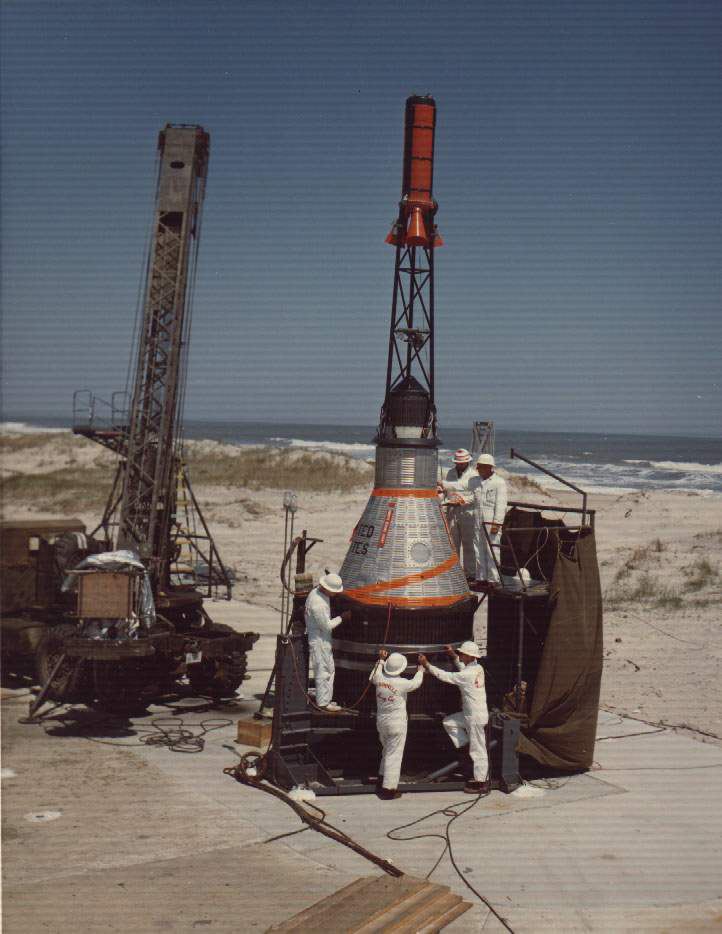
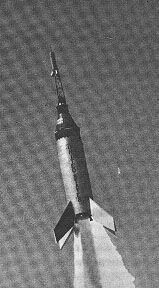
| LITTLE JOE 1 | Photos |
This rocket never left the ground, as the escape motor fired while the booster was still on the ground. This prototype spacecraft was destroyed on impact to the ocean, as the main chute did not deploy. Peter McQuillan has found some nice color photos. This mission used a preproduction prototype capsule, and there were several variations on the orange and white patterns used on the Little Joe flights. This flight had the same capsule markings pattern as LJ-1A. This and several other LJ flights had two aero spikes on the escape motor. In fact, of the five LJ flights with non-production capsules, only LJ-6 and possibly LJ-1B did not have two spikes.
Details and occasionally, markings,
on the LJ booster can be used to identify flights. It is almost
certain that LJ-1 and LJ-6 used the same booster rocket. LJ-1
and LJ-6 were the only ones to have an inverted "V"
shape at the bottom of the booster. This is a notch for the Castor
rocket nozzle to stick out of a chevron-shaped plate that was
installed at the base of the rocket body. The orange paint at
the top of the rocket (on the capsule-rocket transition section)
has some variation. While LJ-1 and LJ-1A have the same capsule
markings, the orange goes further down on the LJ-1A rocket.
| BIG JOE 1 | Photos |
This prototype spacecraft was
launched on an Atlas to test the new, lighter weight fiberglass
heat shield. The capsule had no escape tower but otherwise appears
to be a standard prototype capsule. The top corrugated section
is flat metallic with white stripes extending up into the Recovery
Section. The lower smooth section of the capsule is painted black,
with white "UNITED STATES" lettering in a single line,
in only one position. This capsule is now at the NASM Garber
restoration
facility.
| LITTLE JOE 6 | Photos |
This was primarily a test of the Little Joe booster. A true smooth-skinned boilerplate (?) spacecraft was assembled hurriedly and had no internal equipment. The orange on the capsule goes up higher than on LJ-1, and the "UNITED STATES" stenciling is curved and on a single line. There were no camera pods on the capsule.
| LITTLE JOE 1A | Photos |
This was a failed abort test with a prototype spacecraft.Capsule markings are essentially identical to LJ-1, but the orange on the booster goes a little lower. The UNITED STATES lettering has gaps in the letters, like a stencil. One of the fins is solid orange. Prior flights only had orange on the fin tips.
| LITTLE JOE 2 | Photos |
This was the first chimp flight (Sam) and it used a prototype spacecraft. McQuillan has identified two photos as from this flight. One is a photo from the old Above and Beyond encyclopedia. Note there is no orange on the capsule, nor on the top transition section on the rocket booster. That eliminates it as any of the earlier LJ flights.
There is also a photo that is found twice at NASA's JSC web site. It is labeled both as the LJ-1B (1/21/60) flight, photo #B60-00364 (10073413.jpg) and photo #G61-0030 (10073409.jpg) from the L-J2 flight of 4/13/61. Since it clearly has no orange on the transition section on the booster, it must be LJ-2.
The problem now is that I still have no decent close up photos to tell what sort of markings are on the capsule. The two photos that I have don't show anything very clearly. It does not even show any orange. But it does appear that there were camera pods on this capsule.
To recover a primate, the upper corrugated section was quickly removed, and the animal was recovered from the pressurized container. I have some photos of this process, but they are not labelled as per the mision. A similar photo was run in Aviation Week shortly after the mission (Feb. 1, 1960). But those markings are valid only for either LJ-1 or LJ-1A, neither of which had a chimp. One can only assume that Aviation Week simply ran the only photo they had (from the earlier mission). Note that these show the stencil gaps in the UNITED STATES lettering.
| Little Joe 1B | Photos |
Based on new info and photos from Peter McQuillan, I think I have a better handle on this flight. The trick is, LJ-1B looks very much like LJ-6. One discriminating feature is the lack of the extra chevron plates on the Castor motors on LJ-1B. The capsules have very similar markings. The orange pattern appears to be the same, and the UNITED STATES lettering runs one a single line on both flights. On LJ-6, the lettering is obvioulsy curved. On LJ-1B, the photos are less distinct, but it shows that the lettering is on a single line, but it not clear if it is curved or straight. More and better pictures are needed.
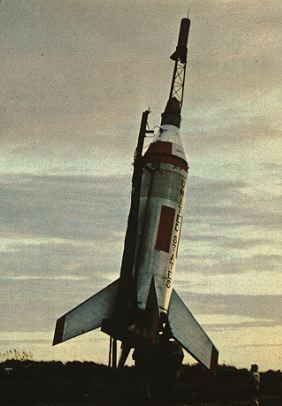
| BEACH ABORT | Photos |
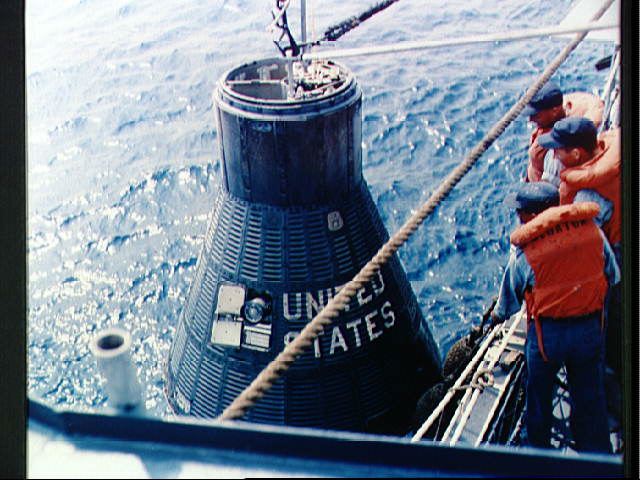
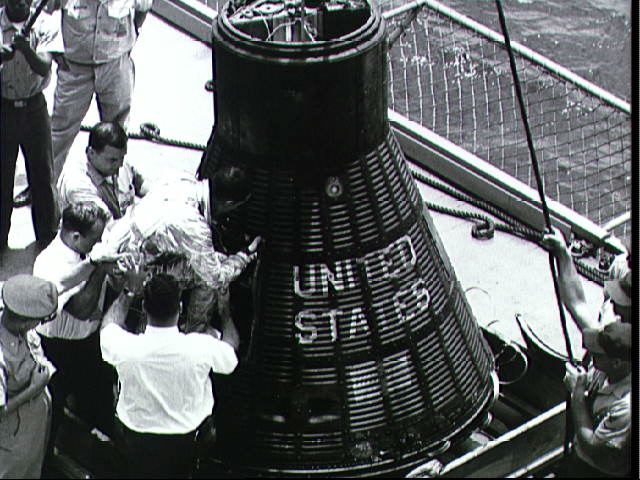
This escape system test was the first using a production spacecraft. It was a pad abort test (without a booster rocket) in which the escape system was actually fired. It was also very significant since it was the first use of a real flight-type capsule. The escape tower jettison rocket motor used here had only a single engine nozzle. After this test, it was changed to the three-nozzle configuration. [2] Other researchers have found photos from subsequent flights that show the earlier single nozzle design, so there are still some details to resolve here. The Recovery Section had corrugated Rene 41 shingles rather than the flat plate-type beryllium shingles used on manned flights.
Capsule 1 was painted silver overall
with an orange band along the base of the capsule, with a spiral
of orange up on the sides of the capsule. The escape tower was
black, with an orange-red rocket motor. I have also found a second
photo that clarifies the spiral
pattern. SIM #5 has a nice drawing.
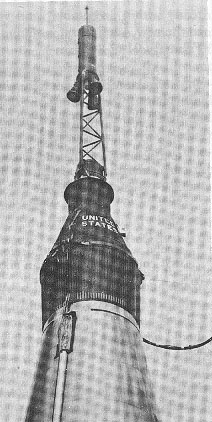
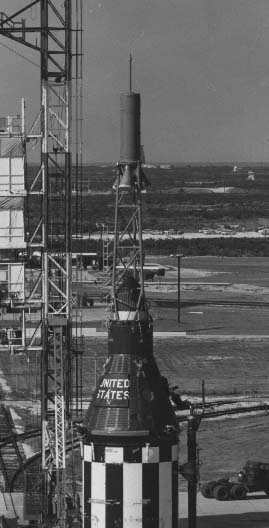
| MERCURY - ATLAS 1 | Photos |
| LITTLE JOE 5 | Photos |
| MERCURY - REDSTONE 1, 1A | Photos |
Different Redstone boosters were
used on the MR-1 and MR-1A attempts, but does anyone know why
they BOTH had "MR-P" marked on the bottom near the fins?
| MERCURY - REDSTONE 2 | Photos |
This flight carried Ham the chimp. Because of a problem with the heat shield during the landing portion of this flight, the heat shield retention system was subsequently changed. A number of cables and cable -retention devices were added. [SP-45] Note that all suborbital flights had no stripes on the retro package, but they did feature the 21 small rectangles (temperature sensitive paint) on the heat shield, 7 between each pair of straps.
MR-2 and MR-3 were also unique
in having a different main hatch. These two missions had a thick
hatch with a relatively smooth surface, not corrugated like the
shingles covering the capsule. This was an interim solution to
having an emergency access to the inside of the capsule. The earlier
hatch had 70 bolts that had to be removed manually. The thick
MR-2 and -3 hatch had a mechanical latching system, but no
pyrotechnics.
It was too heavy for orbital missions, so the later version retained
the bolt system, but modified with an explosive release system
added. It still involved bolting on the inner hatch itself, and
then attaching four shingles, but now a single handle could set
off an explosive charge to blow the whole assembly off. The early
non-explosive and later pyro-actuated versions look very similar
from a modelers point of view, but the shingle pattern is different.
(Rev. 7/5/99)
| MERCURY - ATLAS 2 | Photos |
| LITTLE JOE 5A | Photos |
Perhaps more interesting is that
this is production capsule 14. Beginning with capsule 9, two major
external changes were made. First, the large overhead window came
into use, and second, the flush, explosively - actuated hatch
was used. NASA-quoted dimension for the hatch do not match measurements
made on museum artifacts. Perhaps this is a difference between
the glass dimensions and what is visible externally. This hatch
had only two large shingles of a different pattern than the earlier
non-pyrotechnic version. In between (capsules 5 [MR-2] and 7 [MR-3])
had a thicker mechanically actuated hatch with a smooth (not shingled)
surface. These three hatch designs need to be noted by modelers.
| MERCURY - REDSTONE BOOSTER DEVELOPMENT TEST | Photos |
| MERCURY - ATLAS 3 | Photos |
| LITTLE JOE 5B | Photos |
| MERCURY - REDSTONE 3 | Photos |
| MERCURY - REDSTONE 4 | Photos |
| MERCURY - ATLAS 4 | Photos |
| MERCURY - ATLAS 5 | Photos |
| MERCURY - ATLAS 6 | Photos |
| MERCURY - ATLAS 7 | Photos |
On MA-7 and MA-8 only, a 6-inch
by 6-inch white patch was painted on the exterior of the capsule
to compare shingle temperatures with an oxidized surface. Photos
and drawings in SIM #5 show the location. [4] The MA-9 capsule
had three such squares.
| MERCURY - ATLAS 8 | Photos |
The major interior change was
the replacement of the molded leg restraints with small side supports
for the knees and foot restraints. [6] The astronaut observing
camera was also deleted. [7]
| MERCURY - ATLAS 9 | Photos |
Spacesuit changes included a mechanical
seal for the helmet, new gloves, increased mobility in the torso
section, and integrating the boots with the suit. The life vest
was relocated from the center of the chest to a pocket on the
lower left leg. This made the front of the suit less bulky. [8]
More on-board equipment was added, including several cameras (such
as a slow scan TV, a 70-mm Hasselblad, a 35-mm camera, and a 16-mm
movie camera).
| MERCURY - ATLAS 10 | Photos |